Introduction
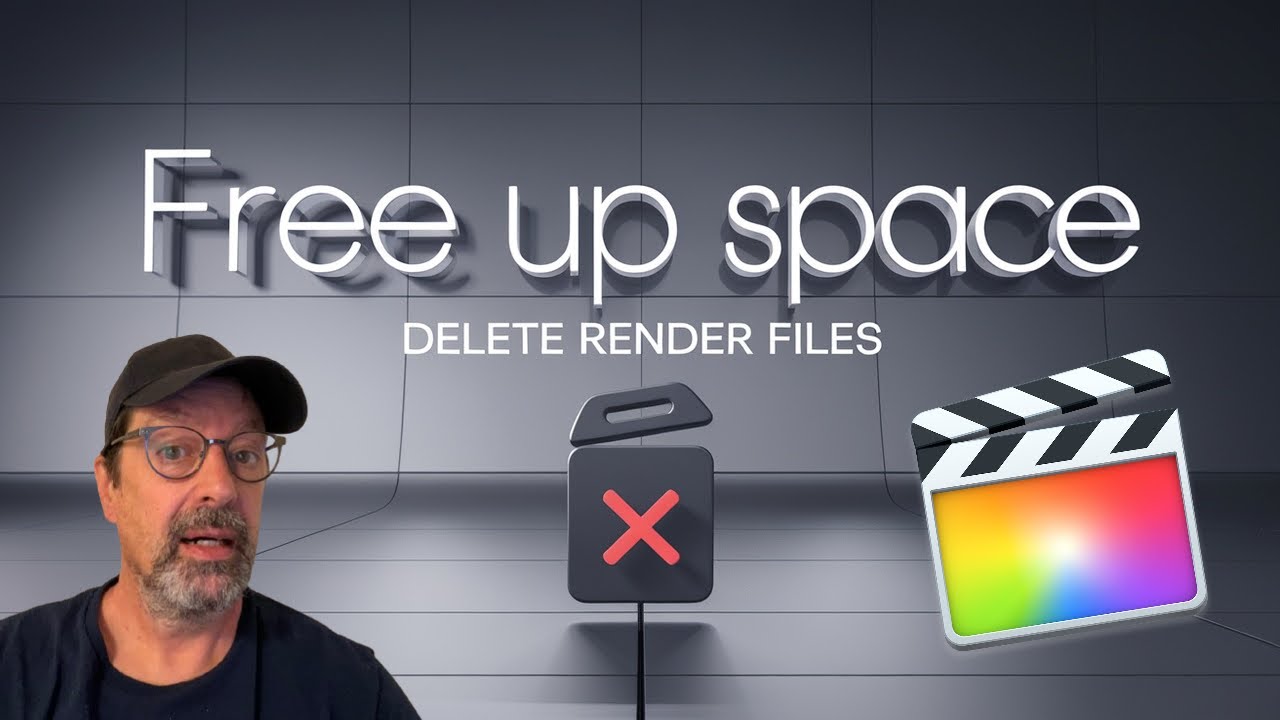
Are you running low on storage space while working on your Final Cut Pro projects? If so, you’re not alone. Many users face storage issues due to render files that accumulate over time, sometimes taking up more space than the actual project files. In this guide, we’ll walk you through the process of freeing up space in Final Cut Pro by effectively deleting these render files. Understanding how to manage these files can not only free up vital hard drive space but also improve the performance of your editing workflow.
What Are Render Files?
Render files are created by Final Cut Pro to allow for smoother playback and preview of your video projects. Every time you make a change, such as adding effects or transitions, Final Cut generates new render files. While this is helpful for editing, it can lead to an excess of files that can drastically reduce your available storage. Regularly managing these files is essential, especially if you’re working with large projects or frequently making edits.
Why You Should Delete Render Files
Render files accumulate quickly and can take up a significant amount of space on your hard drive. In fact, they can sometimes exceed the size of the original project files. By deleting unnecessary render files, you can:
- Free Up Storage Space: Larger projects often lead to a buildup of render files.
- Improve Performance: Less clutter on your hard drive can lead to a faster and more responsive system.
- Simplify Workflow: Maintaining a clean project environment allows you to focus on your edits rather than storage issues.
How to Delete Render Files in Final Cut Pro
Now that you understand the importance of managing render files, let’s look at how to do it efficiently within Final Cut Pro.
Step-by-Step Guide to Deleting Render Files
- Open Your Project: Launch Final Cut Pro and open the project you want to clean up.
- Check Project Storage: Click on your project, go to the
Filemenu, and selectGet Info. Here, you can see how much space your project is using. - Delete Render Files:
- With your project selected, navigate to
File>Delete Generated Library Files. - A dialog will pop up, providing various options, including
Delete Render Files. - Choose the files you want to delete and confirm your selection by clicking
OK.
- With your project selected, navigate to
- Verify Storage Space: After deletion, check your project’s size again to confirm the storage space has decreased.
Move Render Files to a Different Location
For even more efficient management of render files, consider relocating their cache directory. Here’s how:
- With your project selected, head to the
Inspectorsection and findStorage Locations. - Click on
Modify Settings, and underCache, change the location fromIn Libraryto a designated directory (e.g.,Local Episode Cache) by selecting it. Then clickInclude. - After moving the render files, the overall project size will remain the same, but all render files will now be stored in a different location, freeing up space within your project library.
Final Steps
Once you’re done working on your project and want to ensure your hard drive remains clear of unnecessary files, you can:
- Close the library in Final Cut Pro.
- Navigate to the cache location you specified earlier and manually delete any remaining render files, sending them to the trash.
Conclusion
Regularly deleting render files in Final Cut Pro is crucial for anyone who wants to keep their editing process smooth and efficient. By following the steps outlined in this guide, you can easily reclaim valuable hard drive space, enhance your system’s performance, and maintain an organized project environment.
If you found this tutorial helpful, explore more video editing techniques in our other articles. Have questions or comments about managing render files? Feel free to leave them below!
For more information on video editing tips and tricks, don't forget to check out our additional tutorials!
No comments:
Post a Comment