Introduction
Managing storage efficiently is essential for every Mac user who works with iMovie. Video files and project libraries can quickly consume all available space on your computer, causing frustrating slowdowns and limited storage for other applications. Fortunately, Network Attached Storage (NAS) devices offer an effective solution, providing ample storage to accommodate your iMovie projects while keeping your Mac’s performance intact.
What is a NAS Device?
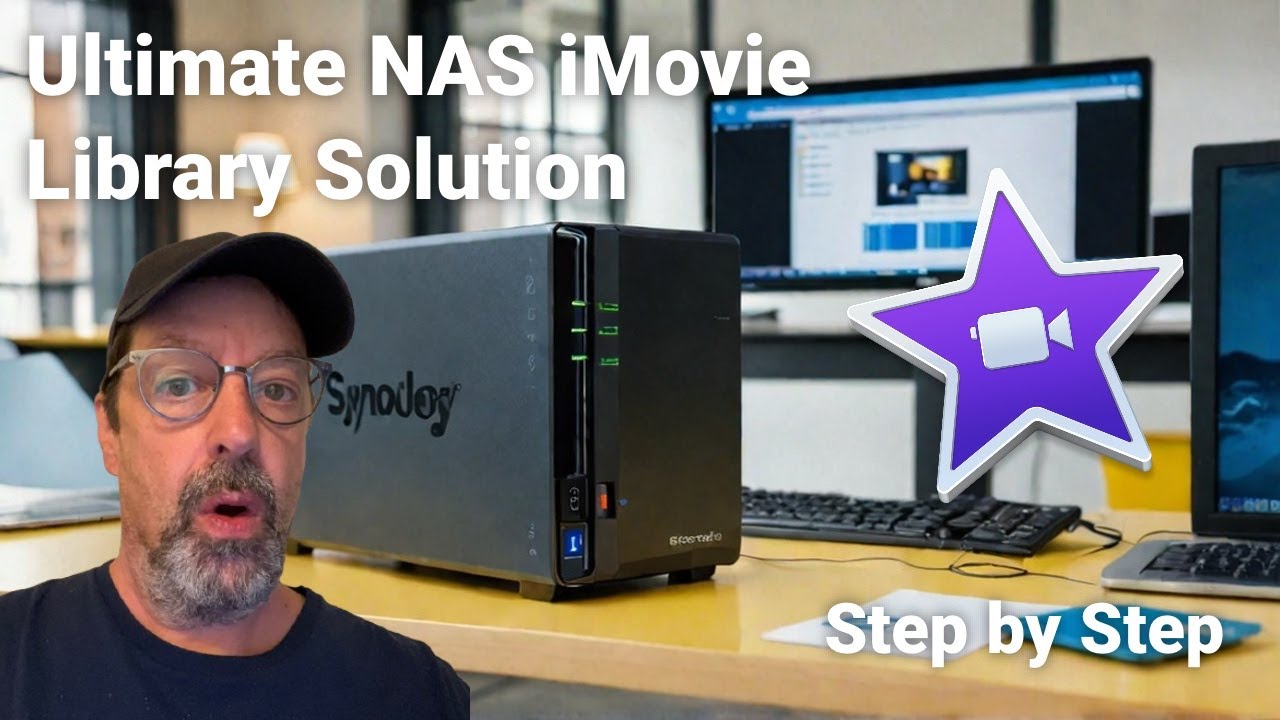
A Network Attached Storage (NAS) device is a dedicated file storage system that connects to your home or office network. It allows multiple users and devices to retrieve data from a centralized disk capacity, making it a perfect choice for creatives who need to store large media files securely.
Why Use a NAS for Your iMovie Library?
Using a NAS for your iMovie library can help you:
- Free Up Local Storage: Relieve your Mac of heavy iMovie project files, allowing for better performance.
- Centralized Media Management: Easily manage and back up all your video projects in one location accessible from any device on your network.
- Expandable Storage: Most NAS devices allow you to increase storage as your project needs grow without the hassle of changing hard drives.
Important Considerations
While NAS devices provide tempting storage solutions, it’s essential to note that Apple does not officially recommend storing iMovie libraries directly on a NAS. Users may encounter performance issues or compatibility concerns. However, by using a sparse disk image, you can sidestep many of these problems and still leverage the benefits of a NAS for your iMovie projects.
What is a Sparse Disk Image?
A sparse disk image is a virtual hard drive that expands as needed. It helps ensure that iMovie libraries can reside on a NAS without compatibility issues with macOS file systems like ext4, which many NAS devices use. By creating a sparse disk image, you format your virtual drive specifically for macOS, enabling smoother operations within iMovie.
How to Set Up Your NAS for iMovie Projects
Here’s a step-by-step guide to create a sparse disk image and utilize a NAS for your iMovie libraries:
Step 1: Create a Sparse Disk Image
- Open Launchpad on your Mac.
- Select Other, then Disk Utility.
- In Disk Utility, go to File > New Image > Blank Image.
- Name your image. For example,
test. - Choose a location to save it, like the Desktop.
- Select Format as Mac OS Extended (Journaled).
- Choose Image Format as Sparse Bundle.
- Set the maximum size of your image (e.g., 512 MB).
- Click Save.
- Close Disk Utility after saving.
Step 2: Move Your Sparse Disk Image to NAS
- Find the new disk image (e.g.,
test.sparsebundle). - Select a folder on your NAS where you want to store it.
- Drag and drop the image into that folder.
Step 3: Mount the Sparse Disk Image
- On your NAS, double-click to mount the sparse disk image.
- It should now appear in Finder, showing the virtual drive status of your storage.
Step 4: Create an iMovie Library
- Open iMovie on your Mac.
- Navigate to File > Open Library > New.
- In the dialog that appears, navigate to your mounted disk image and name your new library (e.g.,
myLibrary). - Save it, and you will see your new library on the mounted image.
Step 5: Move Projects to Your NAS Library
- In iMovie, open the project you wish to move.
- Click on the three dots (ellipsis) from your project thumbnail.
- Choose to Move or Copy the project to the new library on your mounted image.
- Wait for the transfer to finish; your project is now securely stored on your NAS.
Accessing Your Projects
Whenever you need to access projects stored on your NAS, ensure the sparse disk image is mounted. This way, iMovie can access the libraries as needed, facilitating seamless video editing.
Conclusion
Utilizing a NAS to store your iMovie projects is an effective way to manage and optimize your Mac’s performance. The process requires a few steps but essentially allows you to maintain a structured and efficient workspace. Remember that while leveraging NAS storage, it is advisable to create and edit your projects on your local machine for the best performance and only transfer completed projects to the NAS for storage.
Freed from the burden of limited storage, you can focus on what truly matters—creating stunning videos with iMovie.
If you found this guide helpful, consider subscribing to our channel for more insightful content or leave a comment below with your thoughts and experiences on using NAS with iMovie!
No comments:
Post a Comment